BARNWOOD JEWELRY DISPLAY

safety first

For the longest time I have been wanting to make a little barnwood shelf to photograph my jewelry on.  We finally got some of my dad's old barnwood over to our house a few weeks ago, and the other day while James was at work I got the wild hair to just get the power tools out and do it.  Even though my dad was a carpenter, I actually have very little experience.  I had used the hand saw a few times in my life, but its been a long time.  I had to go off memory and imagination.  And it took me almost all day, but it was worth it!  I did keep asking my dad if he would send down his expertise to me, but I think he was probably getting a good kick out of watching me do this on my own!

preparing to build a shelf

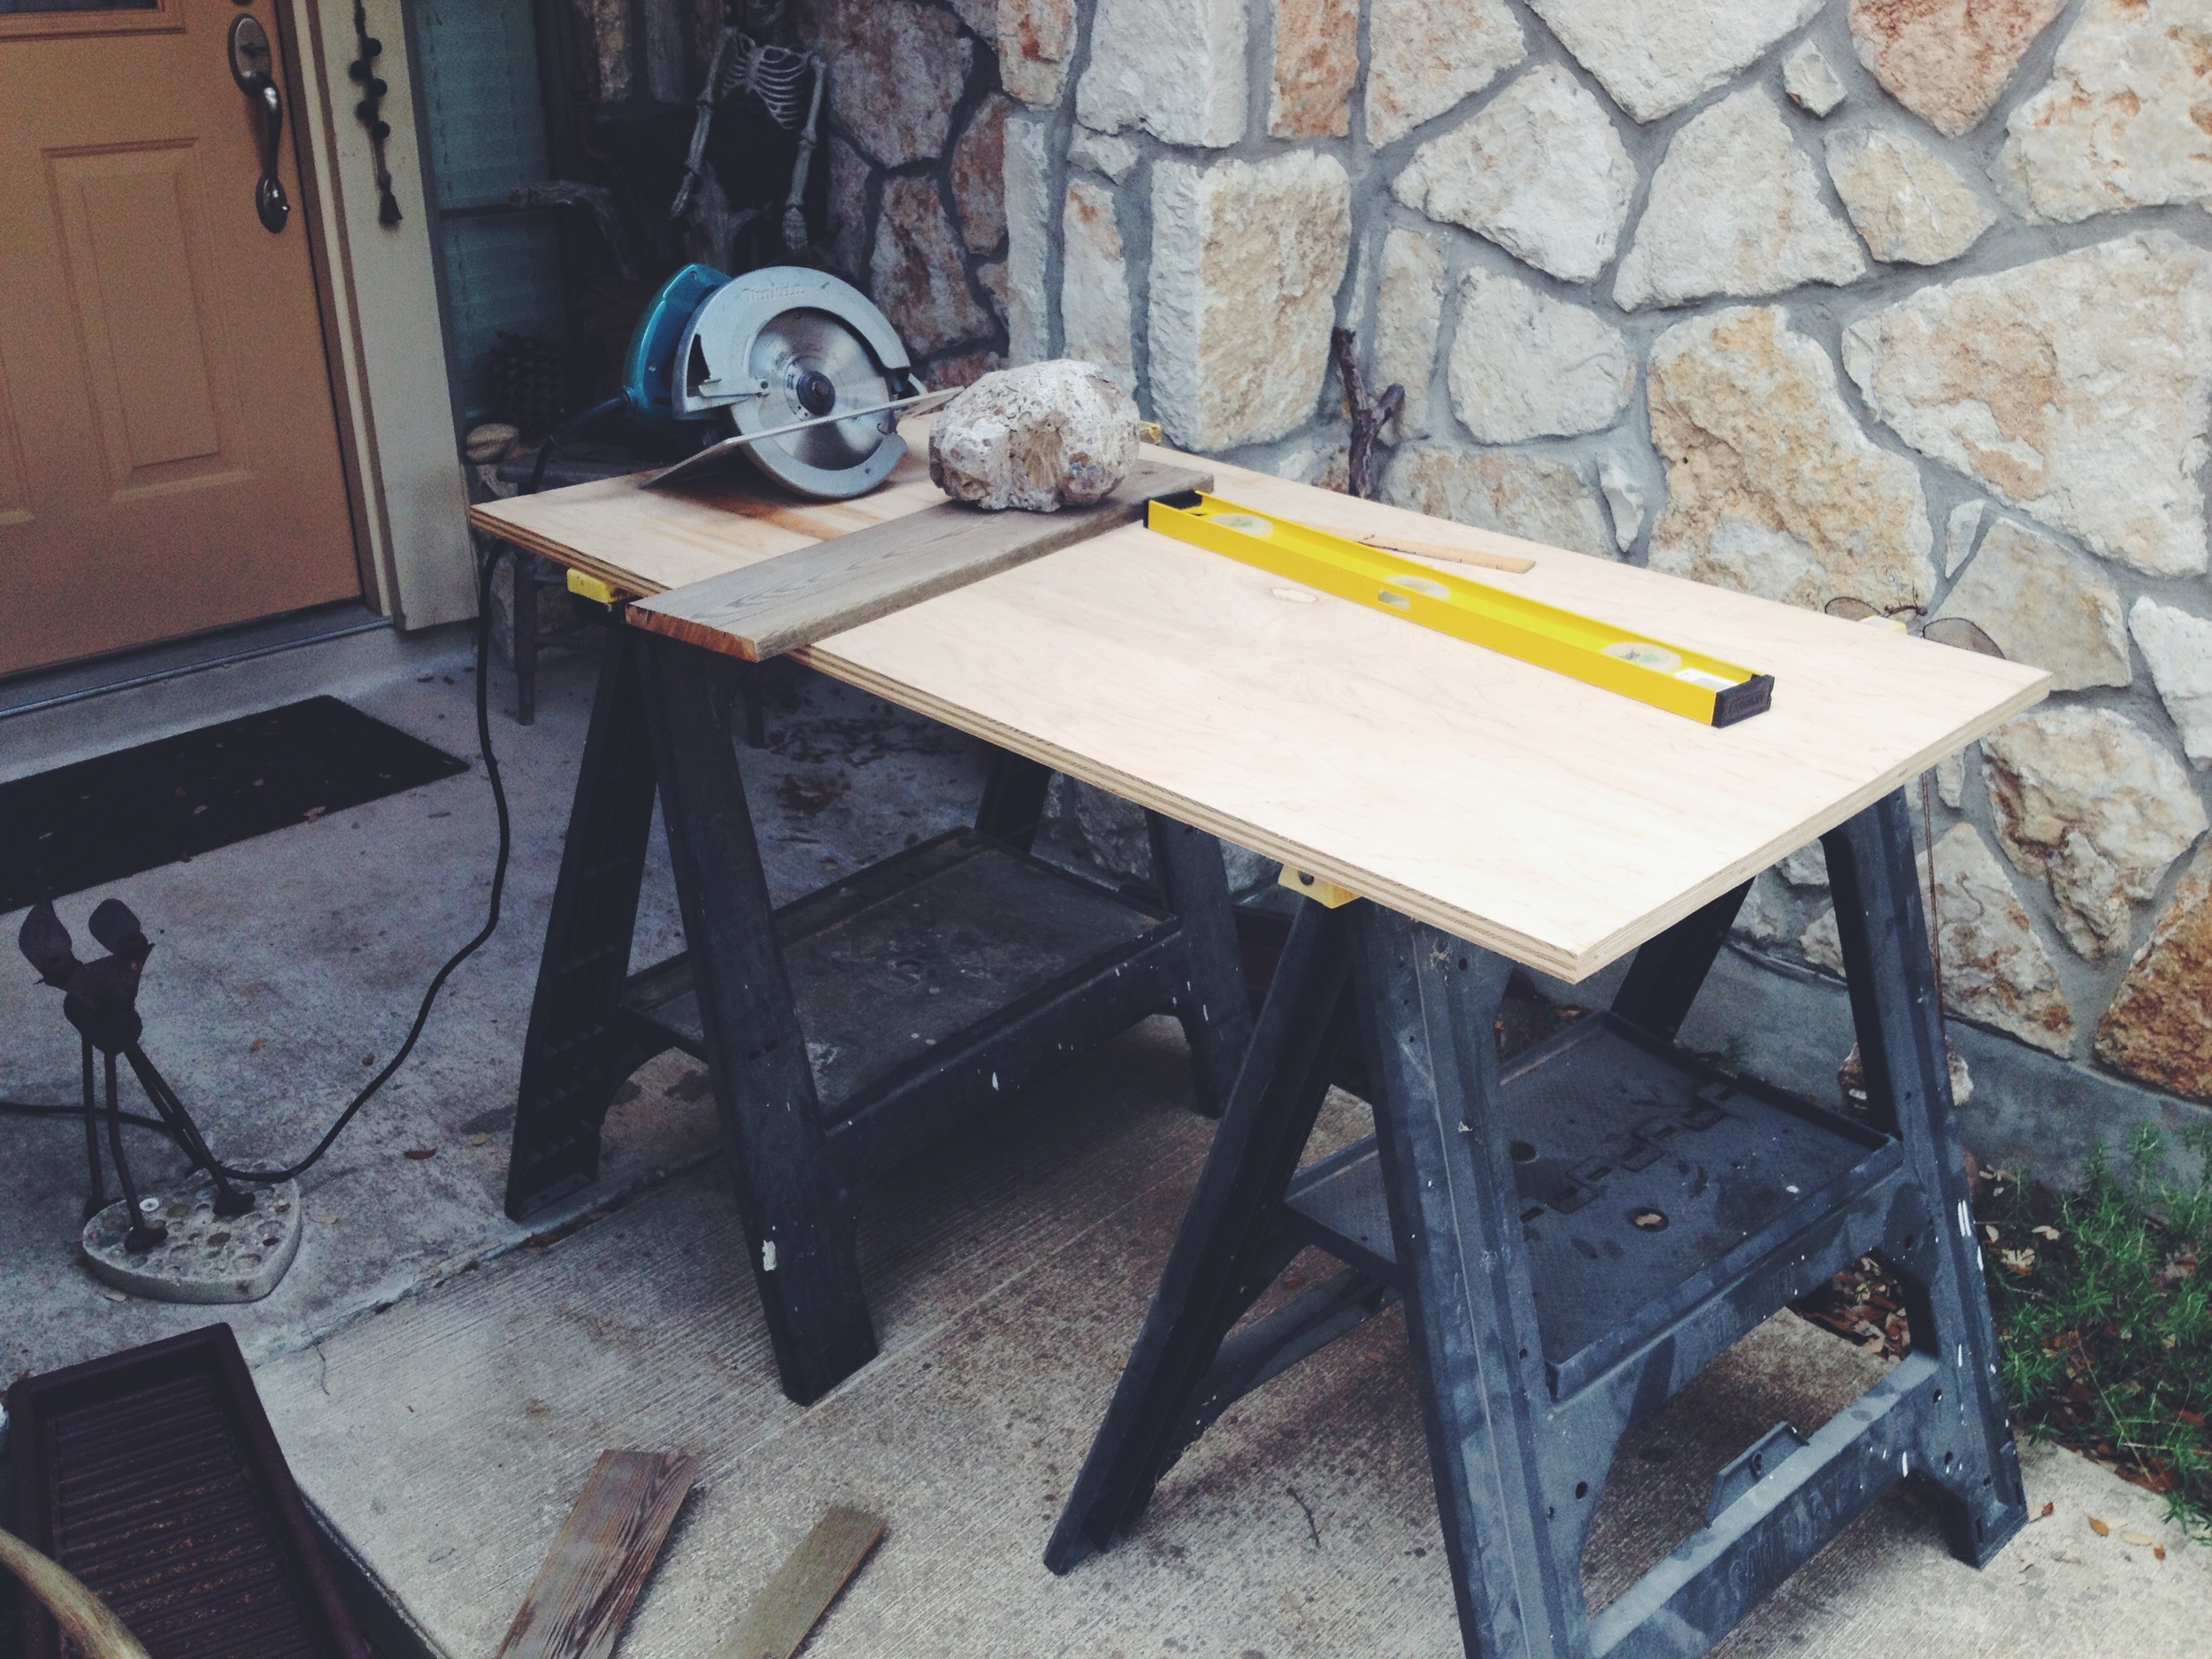
Luckily I only had to cut 6 boards.  I just took my time and went slow.  I didn't have the proper wood and tools to use on the back to connect all the boards together.  It would of been a super simple project if I could of just had the patience to wait until that afternoon to go to the hardware store.  But, when I get my mind on something, I get determined one way or another.  And I'm actually glad that I did b/c it came out funkier and better than it ever would have if I would of done it the 'proper' way. 

I had a box of super old hinges and doorplates and all kinds of random things like that so I used them all to connect each board together on the front and back with screws.  I kept running out of screws in the right size and had so stop to search our house up and down about 10 times to find more.  Another way my patience would have come in handy to just go buy the screws I needed.  But nope.  And finally, I made it work and it all came together and I love my little shelf all the more for it.  It is my little hillbilly shelf.

barnwood shelf

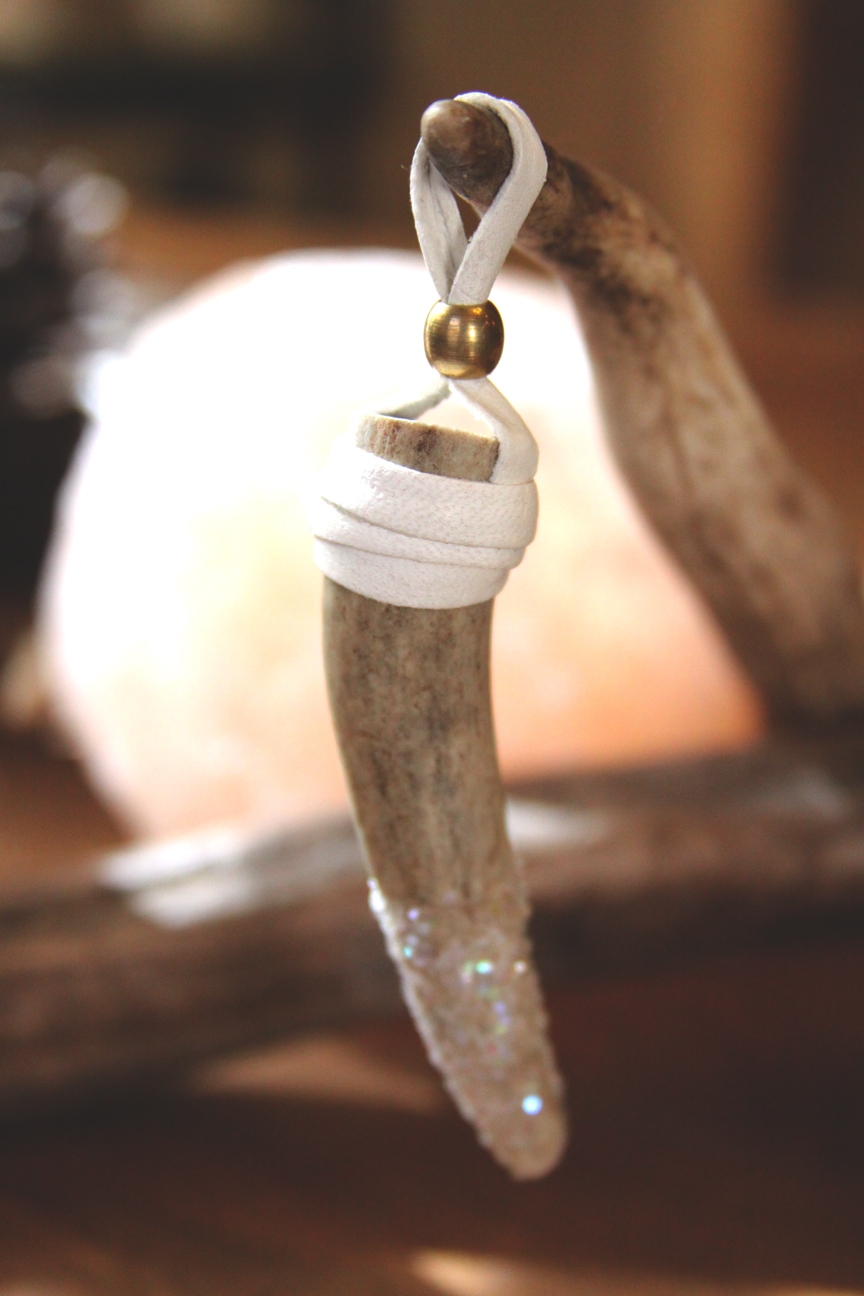
I'm still going to adds some more old knobs on top b/c I did run out of the proper screws for that.  But other than that she is done!  Isn't she a doll?  Below is my FIRST jewelry photo using her!  I can't wait to do some more barnwood projects with this old wood my dad kept for most his life.  I have ideas in my head!

roots and feathers jewelry

ANTLER ORNAMENT DIY

antler ornament diy on rootsandfeathers.com

I'm excited to share this fun and super easy antler holiday ornament diy with you!  We add at least one new ornament to our tree every year.  It's become a tradition.  This year I decided to hand craft one myself.  In honor of the Texas inspired collection I am working on, I chose to use an antler tip.  Deer are a huge part of my surroundings where I live.  They are literally everywhere you look.  It is amazing to me that they shed their antlers every year.  A true testament to our own natural cycles.  They grow to serve a purpose and when they are no longer needed, they are shed.  Many lessons could be learned from this simple natural event alone.  Anyway, I hope you enjoy this little diy!

antler ornament diy on rootsandfeathers.com

S U P P L I E S:

antler tip // leather // bead // glitter // leather glue // regular glue // brush // scissors


S T E P S:

1. cut a strip of leather just long enough to attach to the sides of the antler and make a loop to hang on your tree.

2. slide your bead over both strands of leather.

3. glue both ends of the leather to opposite sides of your antler tip.

4. take the rest of your leather strip and glue it around the antler tip a few times to cover the two ends you just glued.  if you don't have leather glue, you can use a glue gun, but it won't last as long.

5. add a layer of glue to the bottom of the tip, making sure you are making the section nice and straight where you want your glitter.

6. quickly sprinkle glitter all over where you added the glue. let dry.

7. hang and enjoy!


antler ornament diy on rootsandfeathers.com

NATURE FLOWER CROWN DIY

nature flower crown diy by roots and feathers.jpg

Today's DIY is inspired by my last one, the Nature Letters DIY.  Since doing those letters, Ive been a bit obsessed with making things like this.  This little nature crown is more for play then for actually wearing out and about, mainly b/c its quite stiff from being made from sticks.  I think it would be super fun project with your littles.  They would feel like woodland fairies wearing these!   I'm pretty sure if I had my wedding to do over I'd have my bridesmaids wear some of these...

nature flower crown diy by roots and feathers.jpg

S U P P L I E S:

floral wire, small branches, found nature trinkets, deerskin or twine, scissors, hot glue gun. 

I ended up using alot more than photographed below.  My nature trinkets included: feathers from my lovebird, dried roses + babies breath, mountain laurel seeds, dove feathers, bird bone, seashell & a leaf.


nature flower crown diy by roots and feathers.JPG

S T E P S:

1. measure the wire around your head and glue or tape the wire in place in a circle.  this will act as your guide for making the crown. 

2. place your branches around the wire until you find the right fit.  i made two layers of branches all around to give it some sturdiness + more surface space to glue the objects onto. 

3. glue the corners of the branches together in place.  i also glued them to the wire.   

4. take your deerskin or other twine and wrap it around the entire circle.  glue on the inside as you go around, to keep it in place but also hide the glue as best as you can.   

5. begin to lay your pieces of nature out on the crown to envision how you want them to look.  once you are happy, begin to glue each piece down.   continue until you are happy with how it looks.

(click on the images below to see them larger) 


nature flower crown diy by roots and feathers.jpg

Have fun!  If you make one, I'd love to see it!!!   

NATURE LETTERS DIY

nature letters diy on roots and feathers.jpg

I am SO EXCITED to share this DIY with you today.  I have had this in my head for so many months now and I finally took the time yesterday to make it come to life.  It turned out even more beautiful than I originally imagined.  I think this would be a great idea for a child's room to display their name... the possibilities are really endless.  I was going to attach it to a wood board and hang it on the wall, but I decided to keep the letters loose so I can move it around the house as I please.   

love nature letters diy by roots and feathers.JPG

S U P P L I E S:

sticks & small branches // pieces of nature, ie: feathers, leaves, shells, bone, seeds, dried flowers // twine, ie: hemp, wire, leather // hot glue // scissors


I made an adventure out of it by taking Violet with me on a nature walk to collect our goodies. 

nature walk with violet.JPG

S T E P S:

1 // lay all your branches out in the shape you want them.  i had to break a few longer branches to get the right size.  i also wanted my letters to have enough surface space to glue all my goodies on it, so I doubled up my branches.  this made it sturdier too, so it was a win win. 

2 // glue all of your branches together with hot glue.  i used hot glue for this kind of project b/c it dries super fast, otherwise this project would of taken a week.  don't worry about being messy with the glue.  your nature pretties will cover most of it up.   

3 // secure the corners and ends of the sticks together with your twine.  it not only keeps it together for the long run but also adds to the look when you use things like thick hemp or deerskin. 

4 // begin to layout your nature trinkets on your letters to get a feel for how you want it to look.  i did this with the first letter and then i just went to town and started gluing away with no rhyme or reason. 

5 // find a pretty place in your home to display your new nature art! 


love nature letters diy by roots and feathers.JPG

Below are a few close ups so you can really see the kinds of items that were used and how they were placed. 

Now it's time to display your letter art!  I made a cozy little reading nook centered around mine.  This area needed some refreshing, so it was perfect!  Enjoy! 

If you make something from this DIY I would LOVE to see it, send me a link! 

love nature letters diy by roots and feathers.JPG